 Design guide
Design guide
Design guide
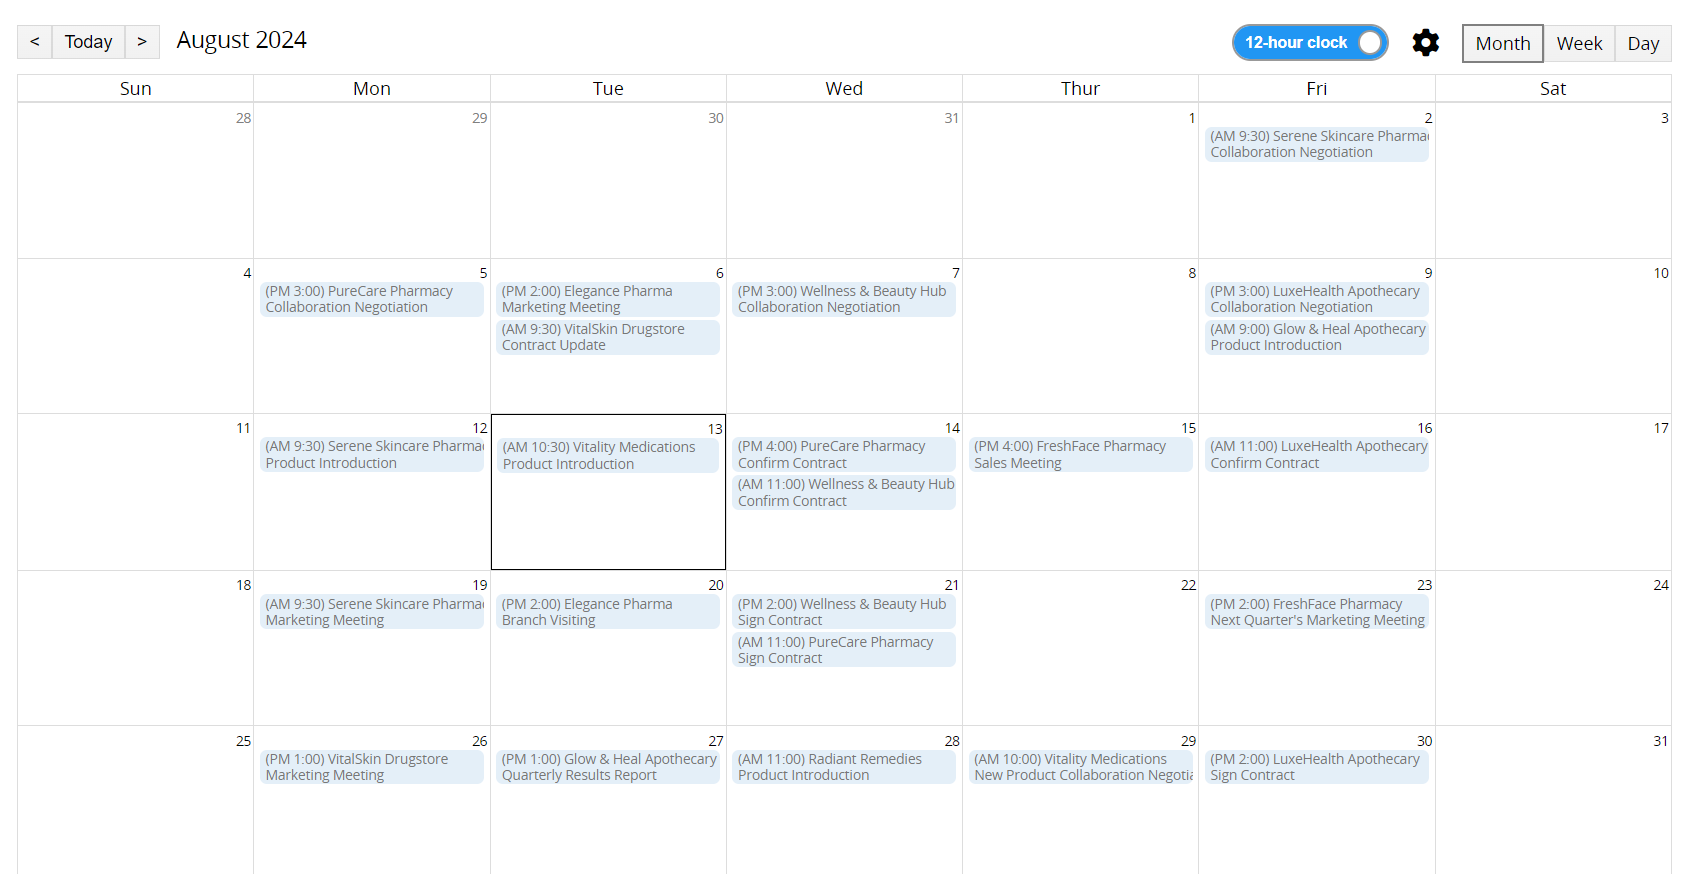
When a sheet contains Date/Time or Recurring Date fields, you can use the Calendar in Ragic Reports to manage schedules or set periodic reminders. For example, you can manage meeting schedules, client visits, or equipment maintenance reminders.
After creating the Calendar report, the following page will appear. You can adjust the settings in the top section.
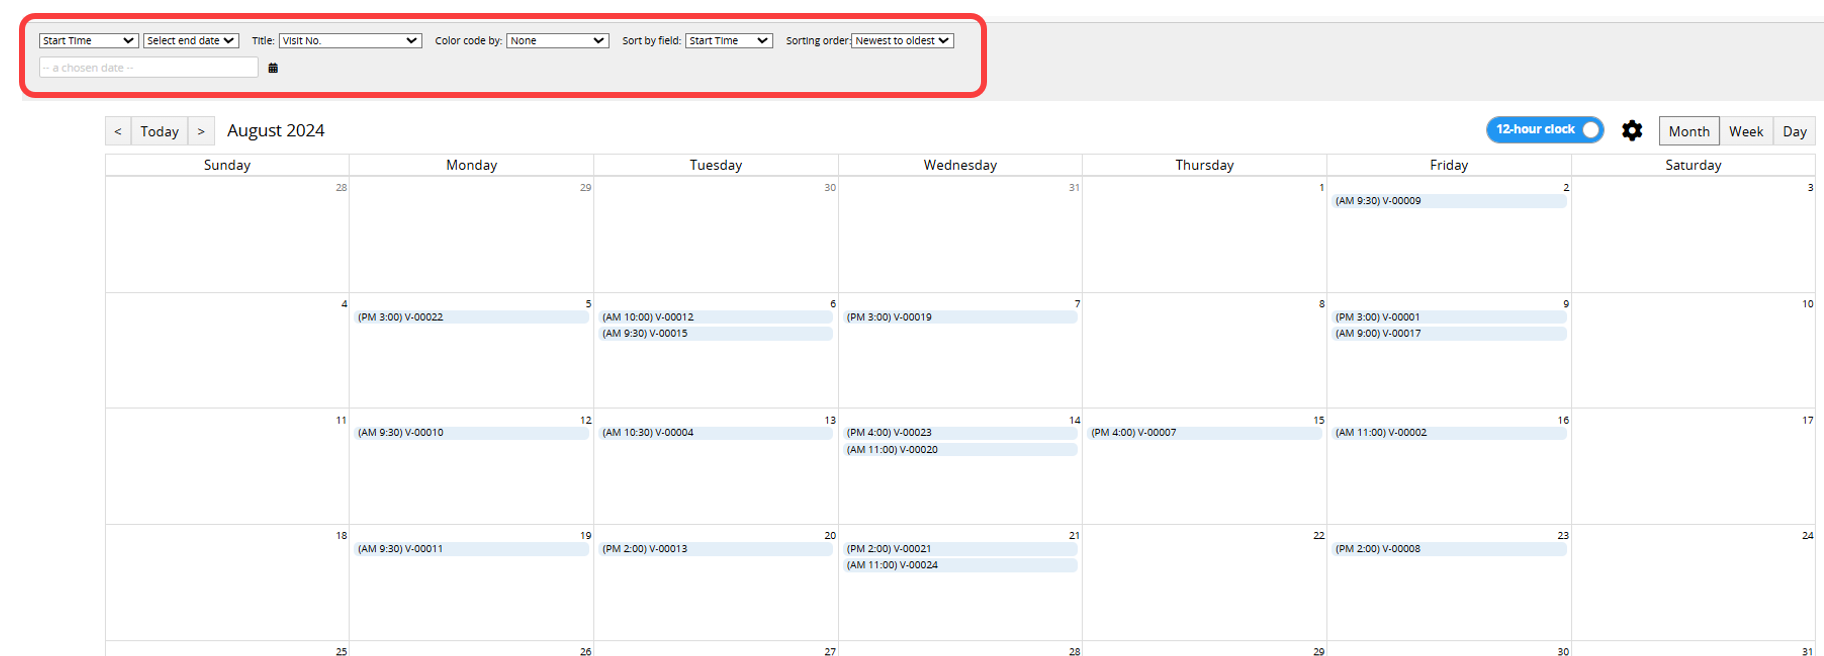
The settings for the Calendar are explained below:
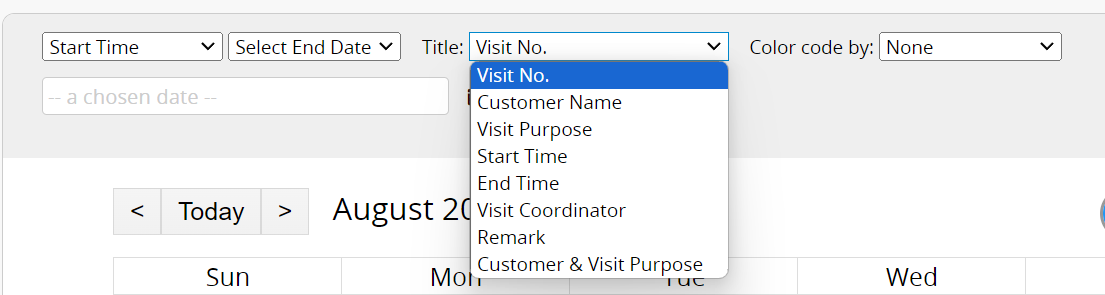
First, select the Start Date field and, if needed, the End Date field. Then, choose a field to be used as the Title displayed on the Calendar.
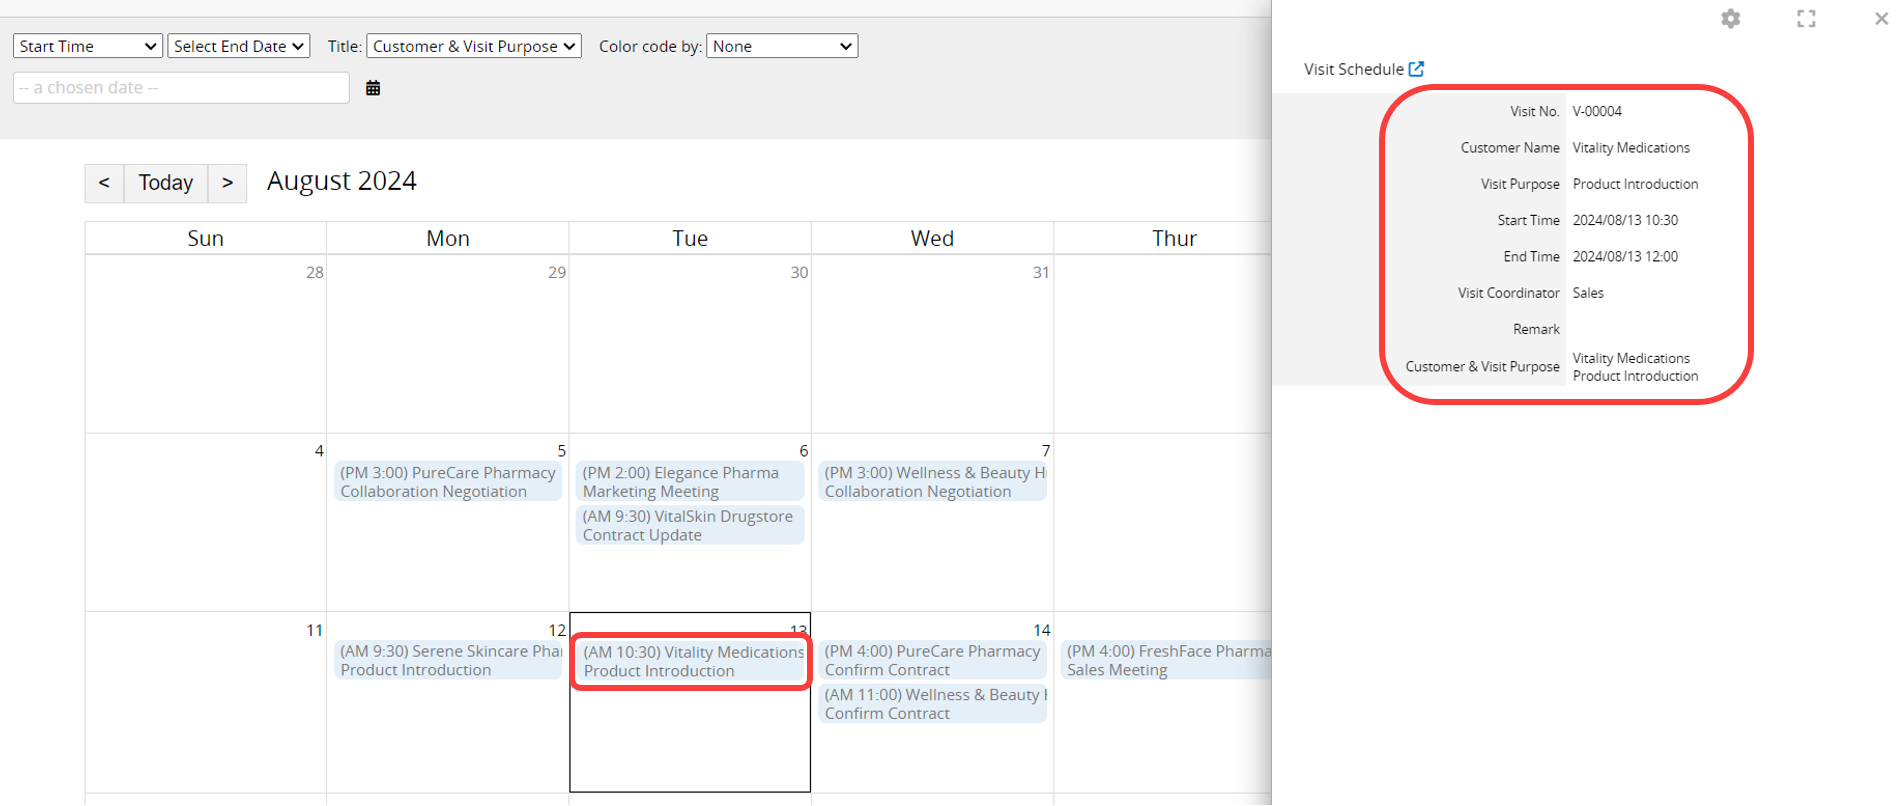
Clicking on an event in the Calendar will display detailed information for that record on the right side.
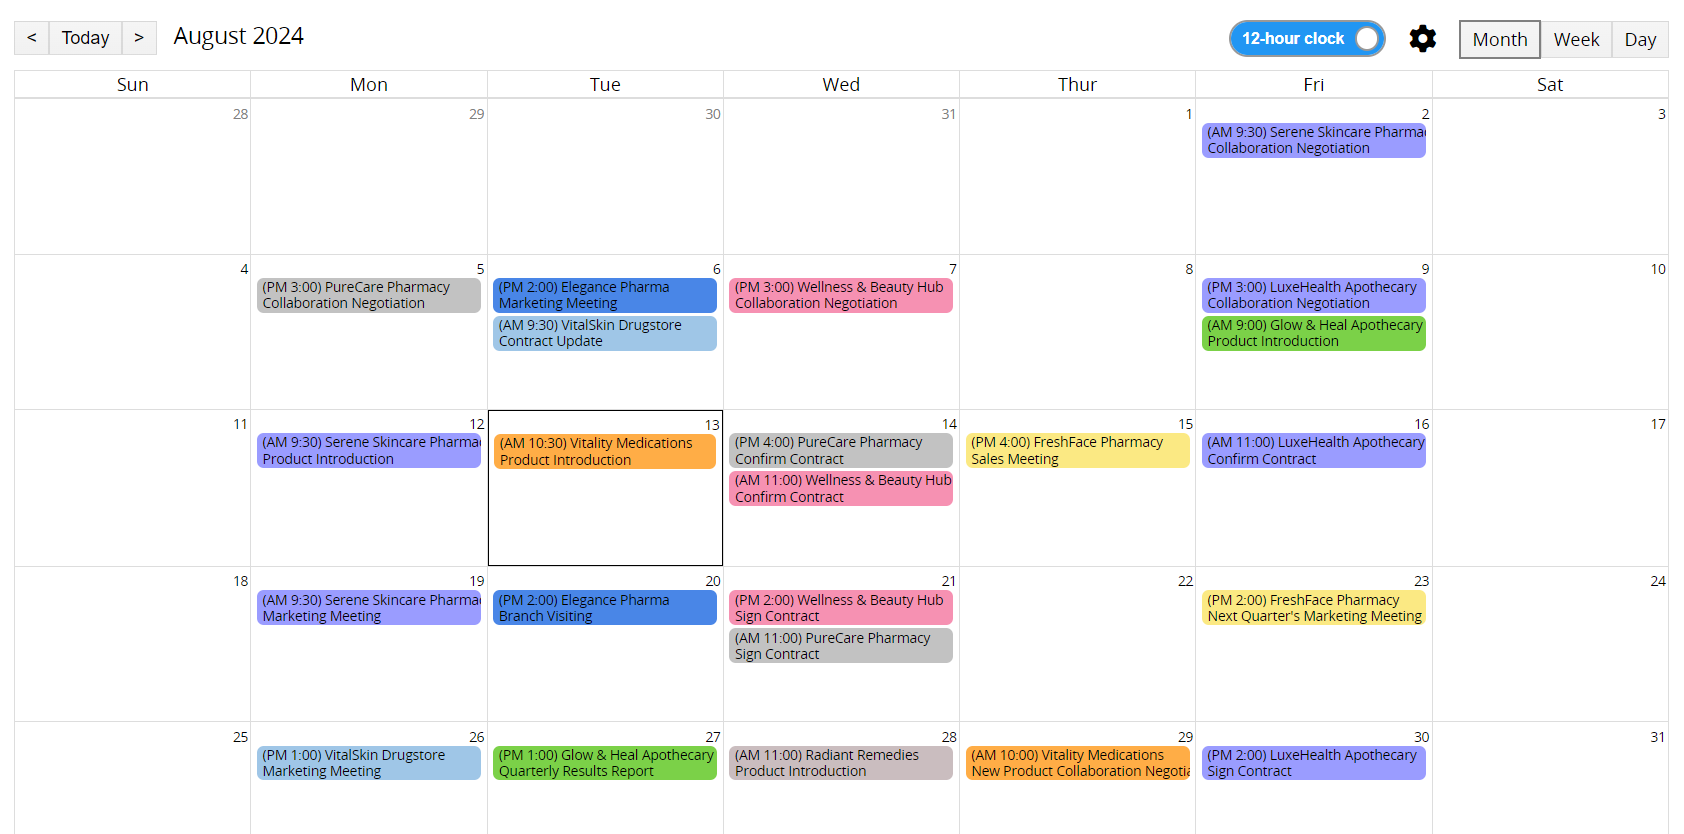
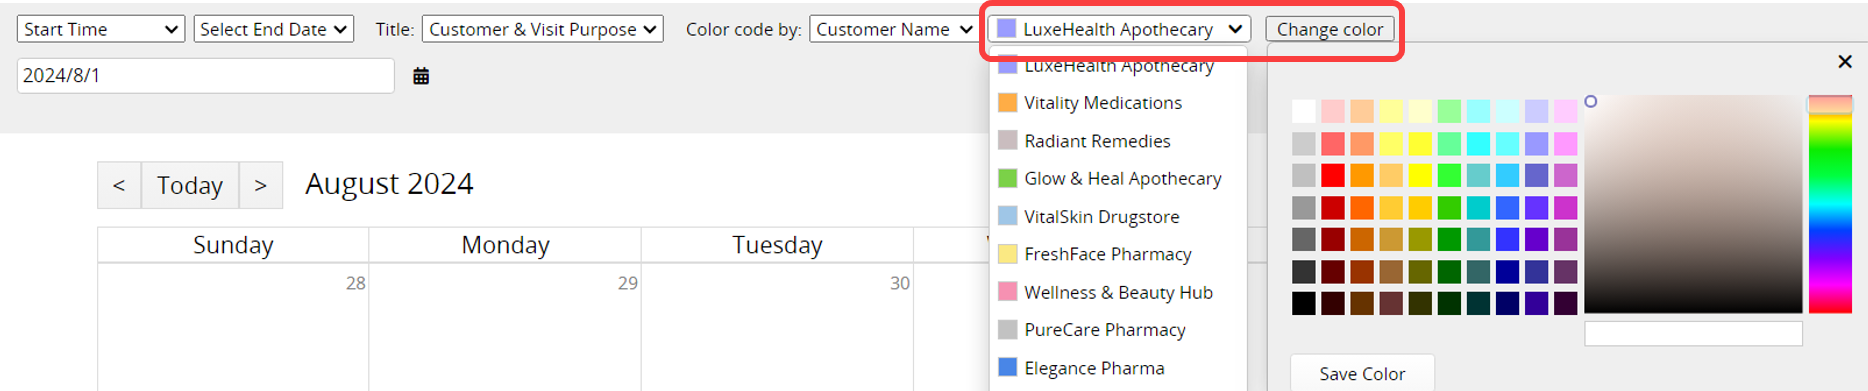
You can also select a Selection field from the sheet (e.g., Selection, Select User, Select Group, Cascaded Selection, Linked Fields, etc.) as the Color code.

It helps users view and differentiate Calendar events.
In addition to the default colors, you can also customize the color of category items. Note: If there are more than 9 items, the default colors will repeat.
You can configure the Sort by field (date fields only) and the Sorting order to customize the order of events on the same day.

In the upper right section, you can choose to view the Calendar in Day, Week, or Month mode. When using Day or Week mode, it is recommended to select Date fields that include hours in their format.
Day Mode: Suitable for quickly overviewing tasks for an entire day.
Week Mode: Suitable for viewing weekly work or schedules.
Month Mode: Suitable for planning and arranging tasks or activities that span several days.
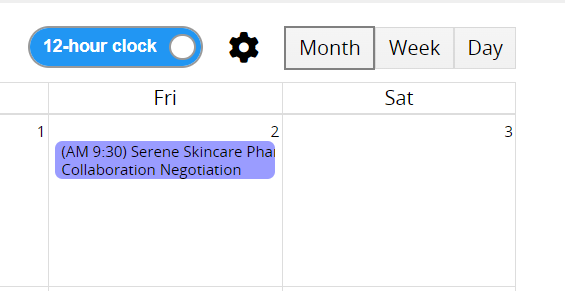
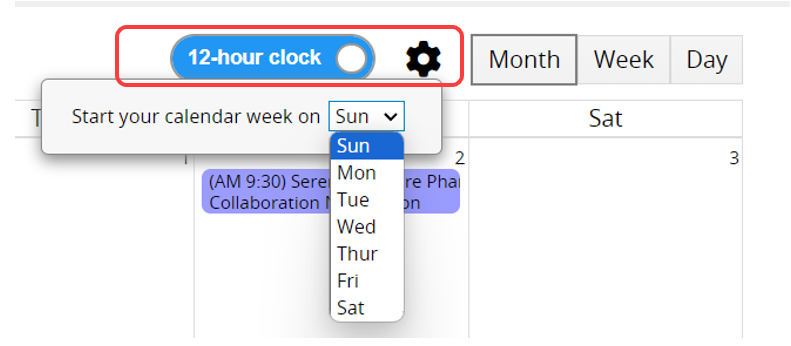
For Day and Week modes, you can adjust the view to either a 12-hour or 24-hour clock. Click the gear icon next to it to set the starting day of the week.
After selecting Day or Week mode, the third row in the upper left corner will appear, allowing you to configure Time display settings.
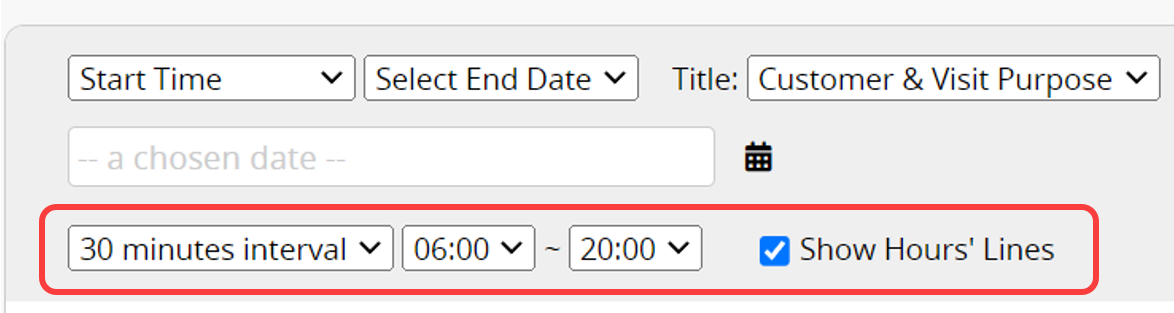
You can choose the time interval as hourly, 30 minutes, or 15 minutes and set the start and end times.
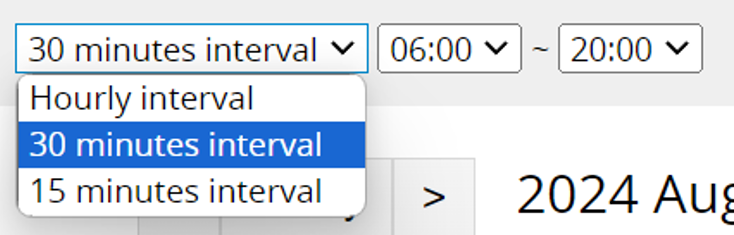
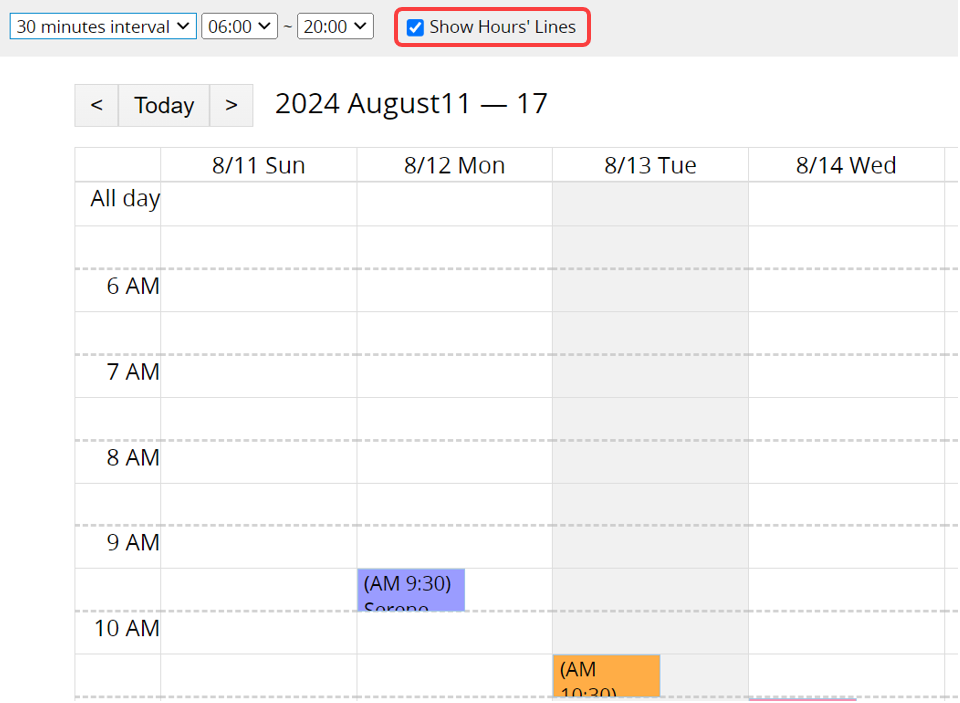
When selecting a time interval of 30 minutes or 15 minutes, an option to Show Hourly Lines will appear on the right. You may check this option to make the Calendar easier to view.
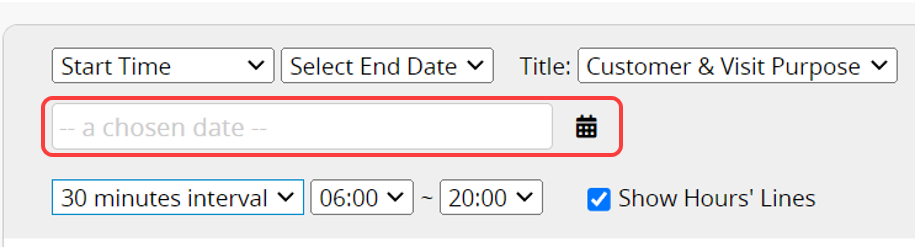
After creating the Calendar, it will automatically display the current date. You can select a chosen date to jump to a specific date, which helps in quickly locating the record.
In addition to regular Date fields, the Calendar also supports Recurring Date fields. When selecting a Recurring Date field, the End Date option will not be displayed.
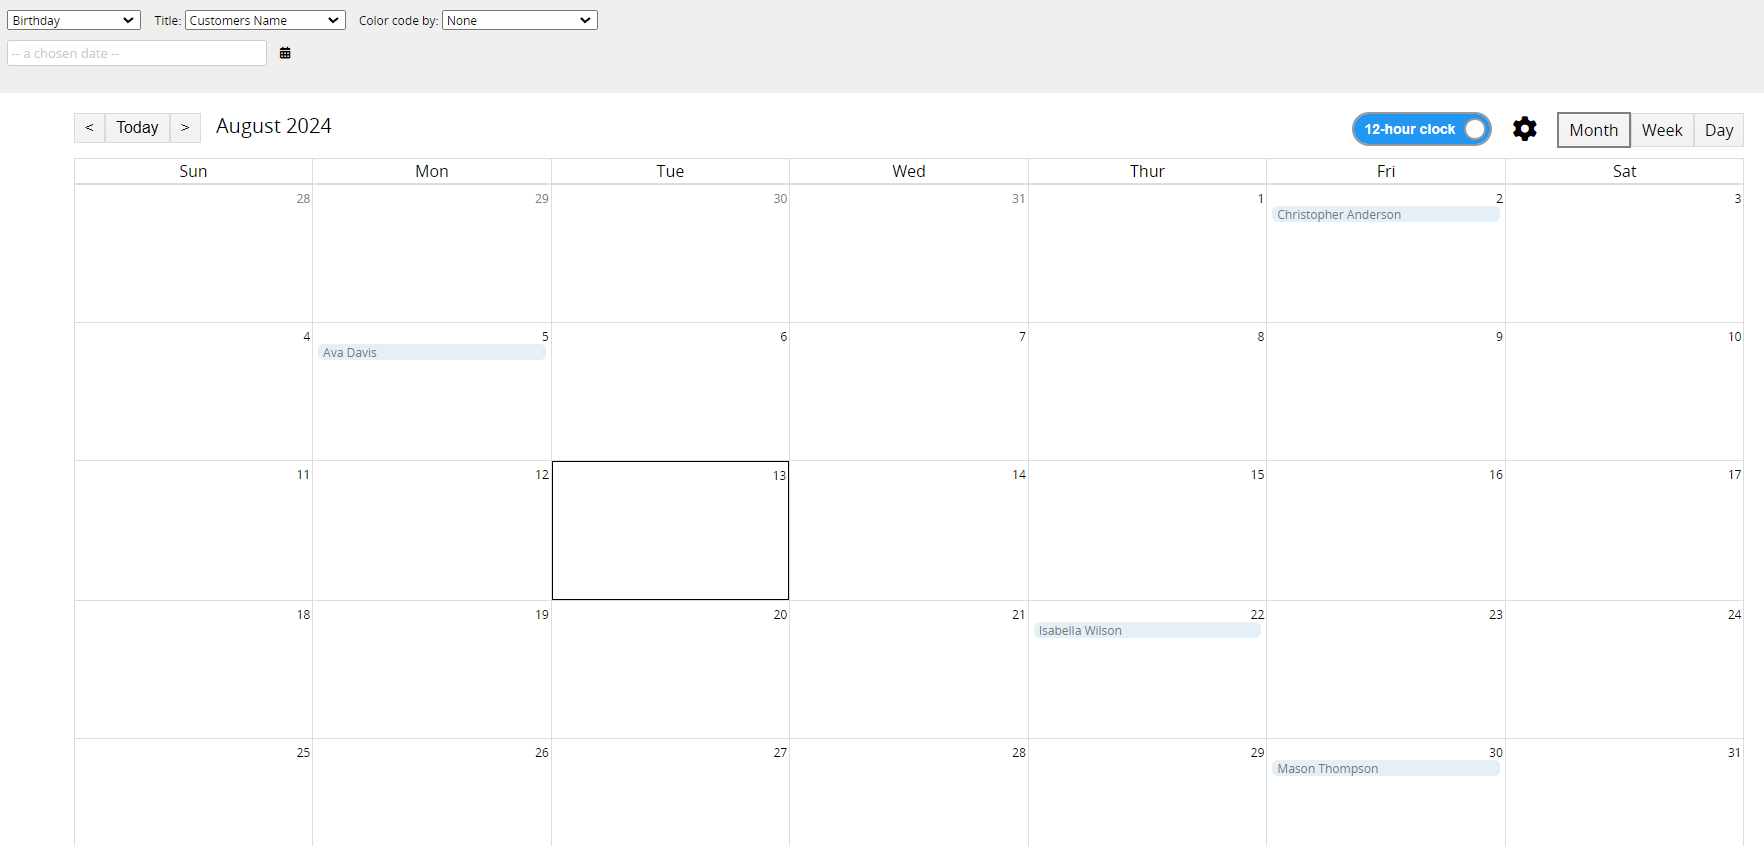
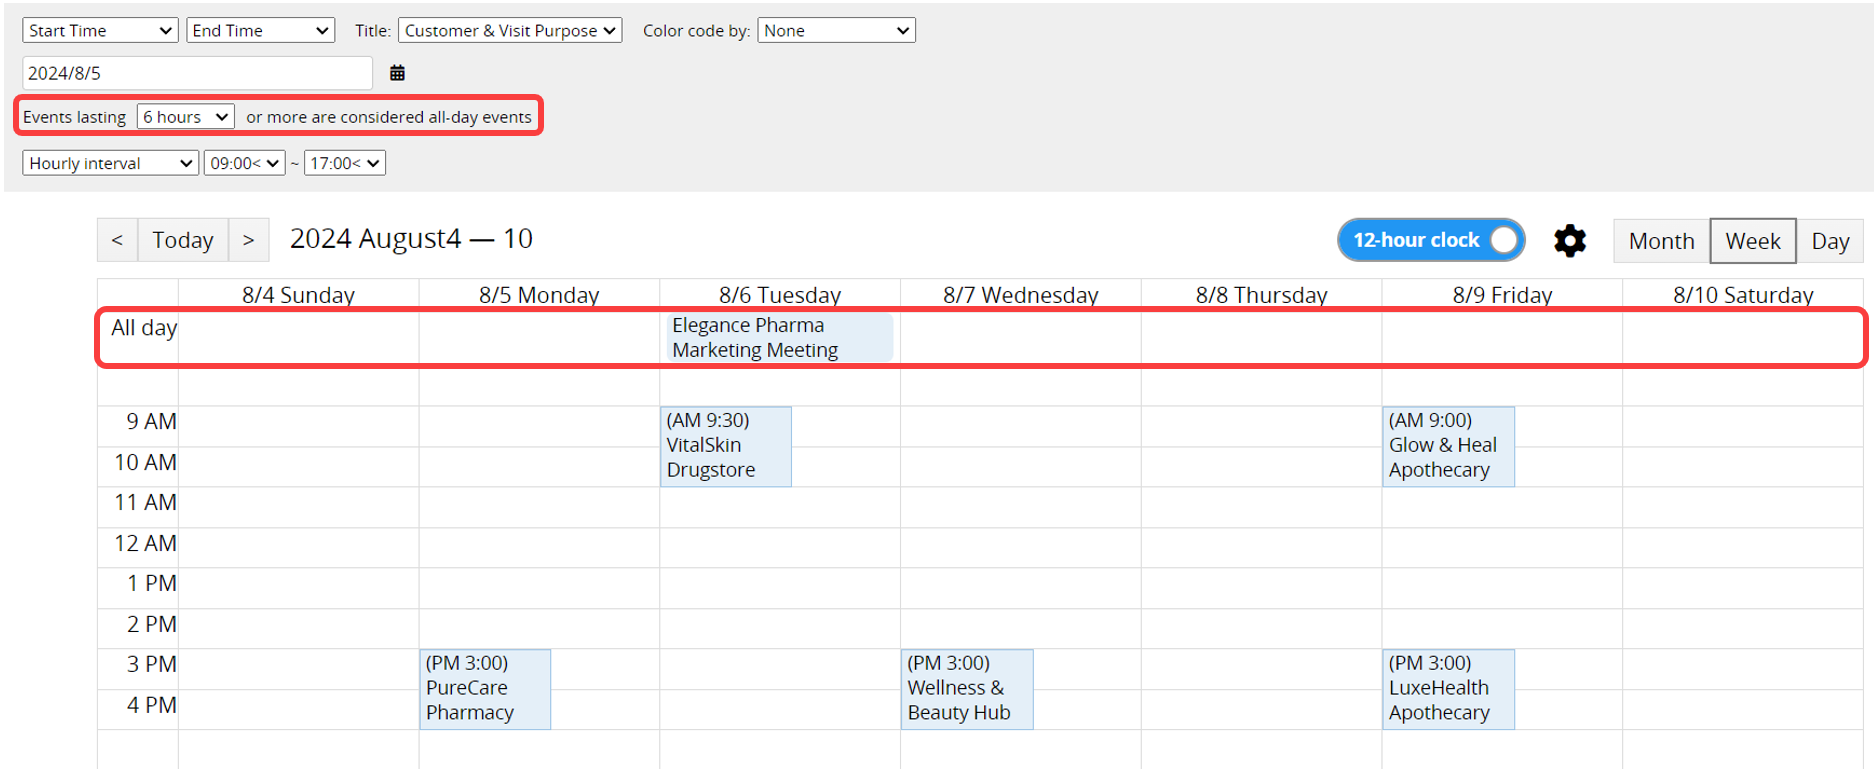
When you select the End Date field, you can set Events lasting x hours or more are considered all-day events. By default, events lasting 24 hours are displayed as all-day events.
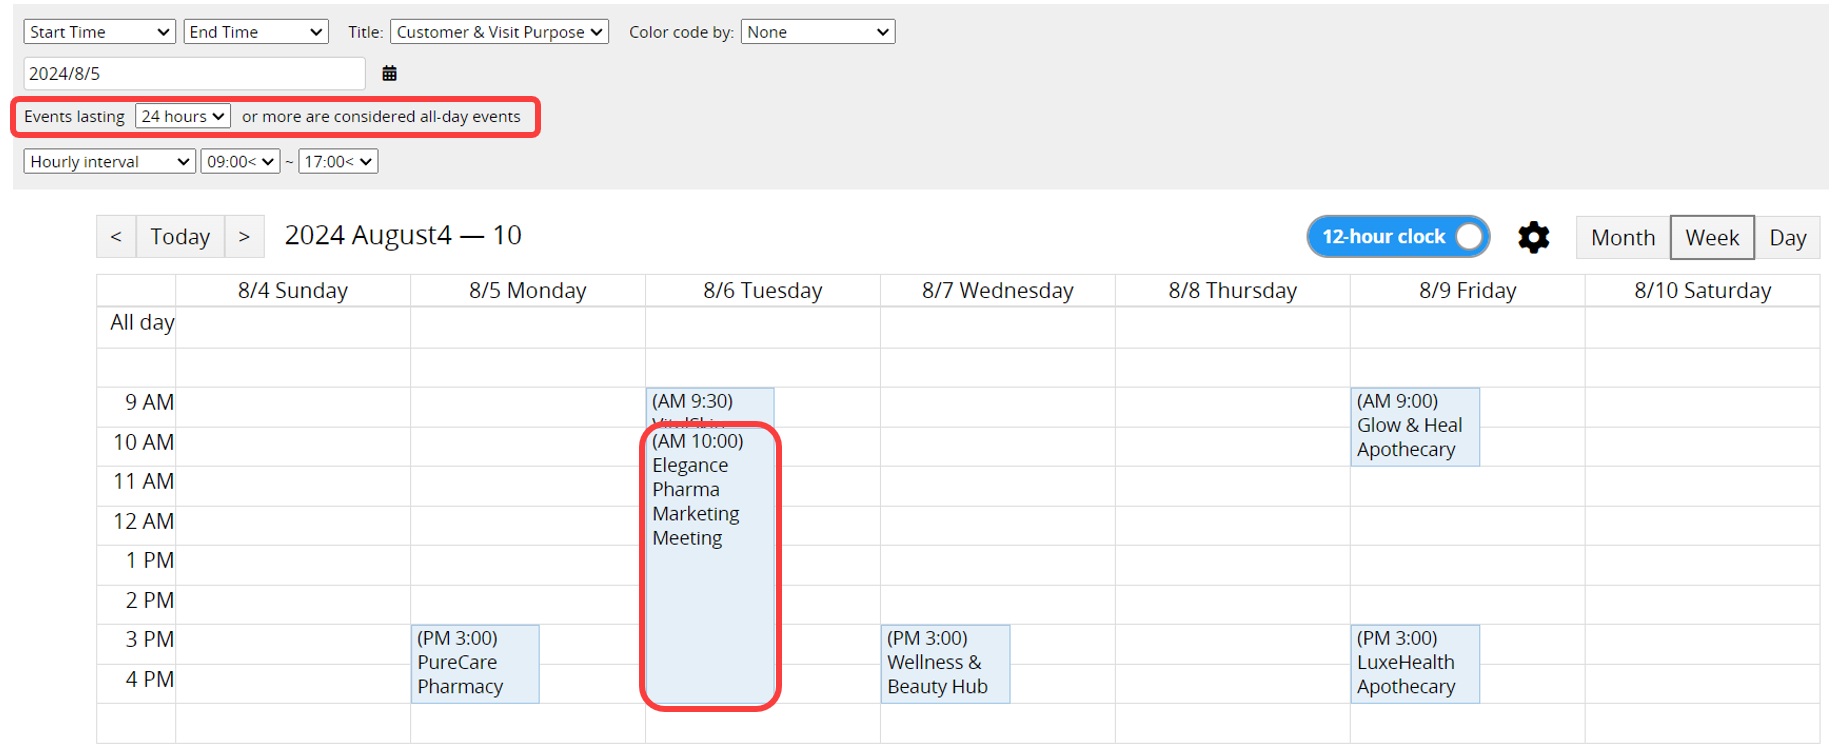
For example, in the image above, there is a 7-hour meeting. If you adjust the setting to treat events lasting 6 hours or more as all-day events, the meeting will be displayed as an all-day event at the top of the calendar.
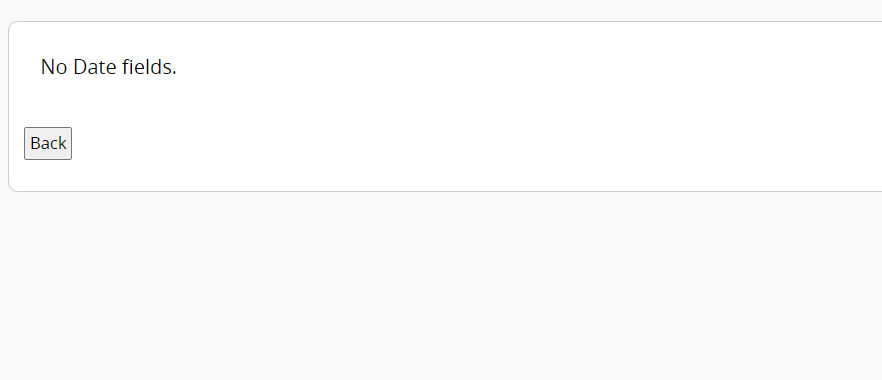
1. No Date Fields: If the sheet does not contain Date fields, the following message will appear when creating the report.
Additionally, if there is only one Date field in the sheet, the End Date option will not be available.
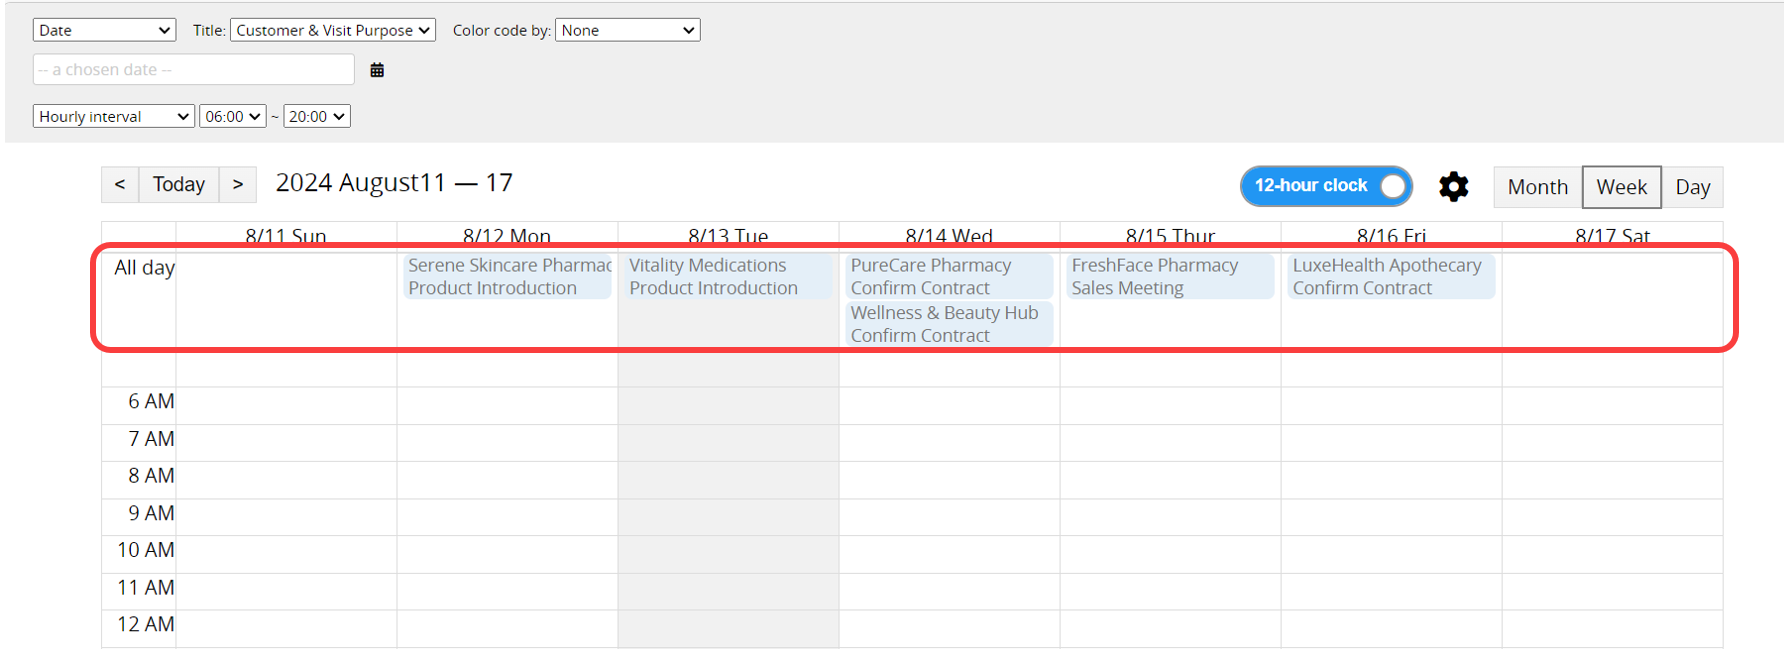
2. Displaying Only Time Format in Date Fields: For example, if the date and time are in separate fields and the Time field format shows only HH:mm, the Calendar will not display time correctly.
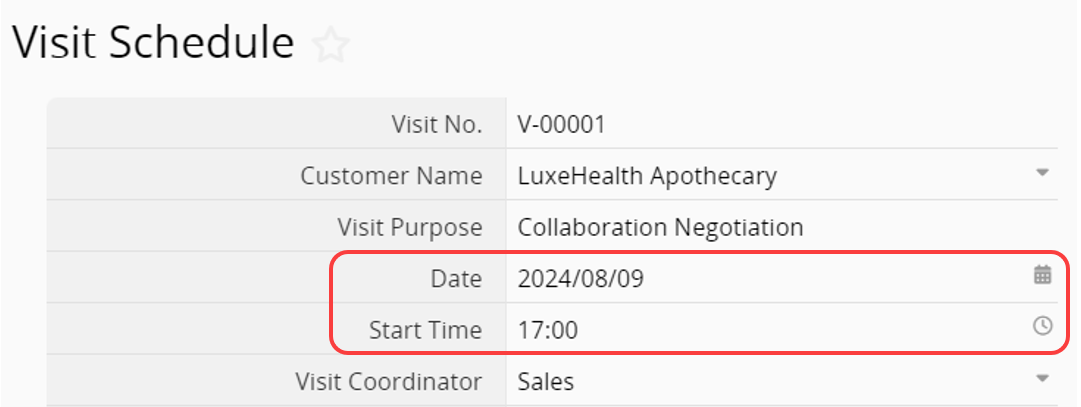
This field cannot be used as the Start Date, resulting in all-day events without time-based display.
3. Cannot Select Subtable Fields: Since fields in Subtables cannot be selected, if you need to analyze Subtable data, consider creating a new sheet from the Subtable.
You can double-click an empty time slot on the Calendar to quickly add a new event. In the pop-up window, you can enter the Title, Start date, and End date, without needing to switch to the Form Page.
Note: You cannot double-click to add an event in the All-day Events area.
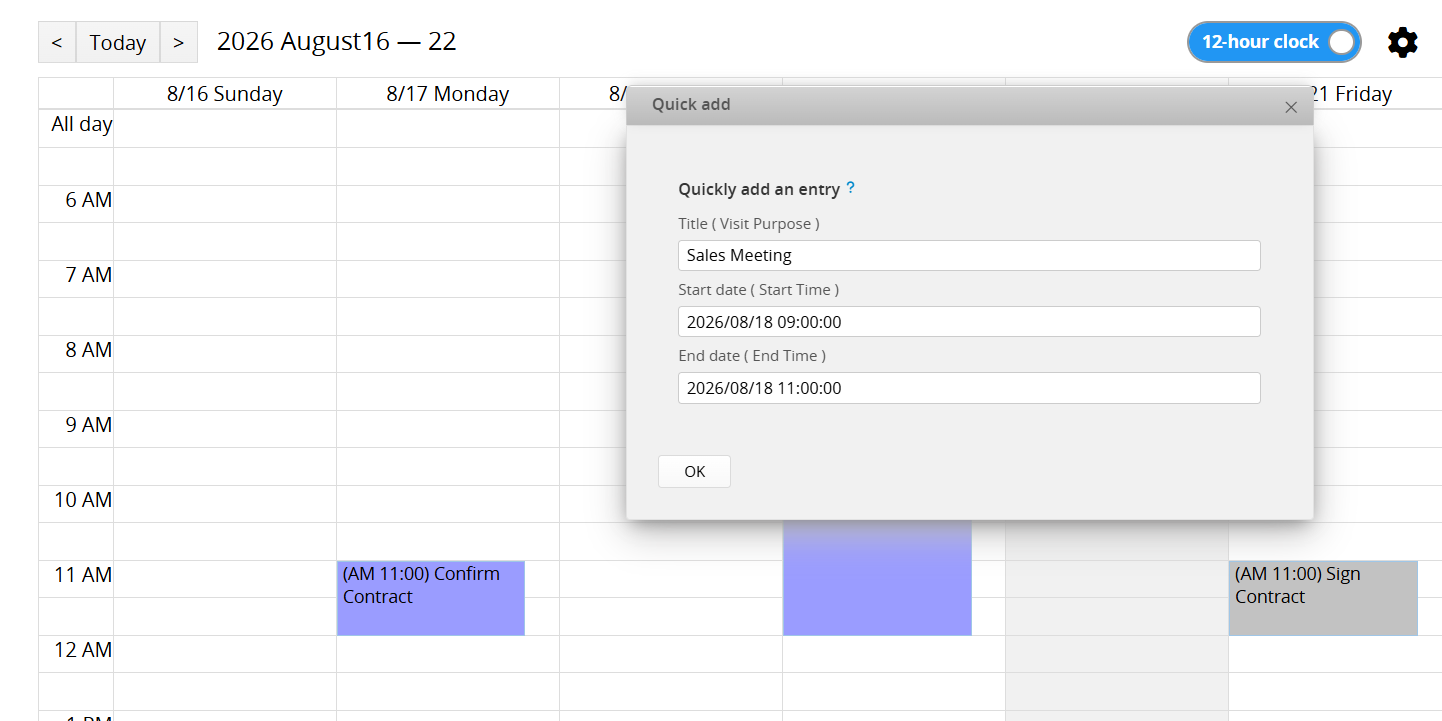
This record will be added to the corresponding sheet automatically. Any fields without a Default Value will need to be filled in on the Form Page.
If you frequently use this type of report, you can save it for easy access later. Additionally, you can use the Printer Friendly option to export reports (Calendars cannot be exported as PDF files).
You can apply filters to generate the desired report.
You can embed the report into your website or share a link with others.
In the Report Settings, you can adjust the report's style settings, including font, font size, borders, etc., and the report's Filter and Access Rights.
Once a report is saved, you can use a Report Snapshot Schedule to automatically save a snapshot of the report at regular intervals, and view its state at different points in time in the Report Center.
You can create an Editable Report Snapshot to highlight data, apply styles to the report content (for example, bold, underline, or font color), or add tables and explanatory text.
 Thank you for your valuable feedback!