There are several ways to create a new sheet:
1. Creating a Ragic sheet from scratch, please follow step 1 to 5.
2. Installing Templates, such as Customer Relationship Management, Project Management, Order Management, Procurement, Inventory, etc. Most templates include multiple sheets with established linking relationships, providing a complete design for certain applications.
3. Applying Quick Templates, which are independent sheets with relatively basic structure.
4. Importing existing spreadsheet to generate Ragic sheets.
5. Using Ragic AI to create a new sheet.
We strongly recommend new users to create a sheet from scratch to acquire basic knowledge for future adjustments.
The Ragic database consists of three levels: Tab, used for classifying sheets; Sheet, used for storing records; and Record, which is composed of multiple fields.
First, click the "+" on the upper-right of the page.

Then, click the "+" next to the tab to add a new one.
If you want to add a new sheet to an existing tab, you can skip this step.
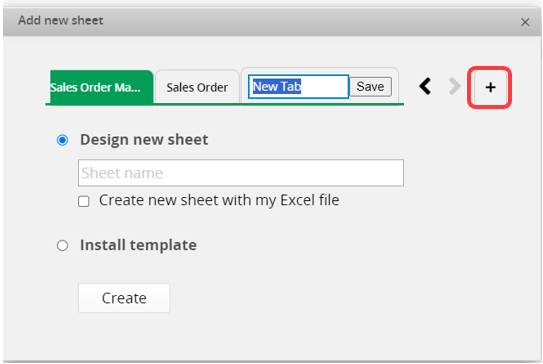
Note: The tab name affects the Tab Path Parameter in the sheet URL. Once a tab is created, changing its name will not update the tab path parameter. For more details, please refer to this article.
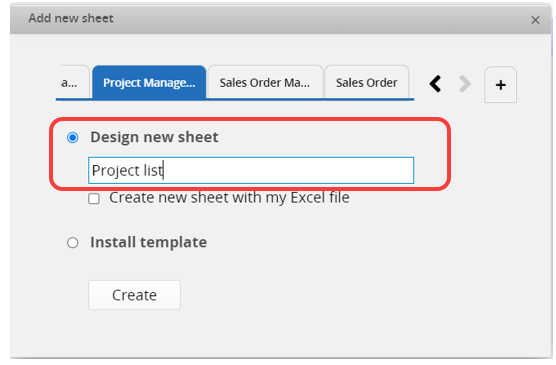
Choose the tab where you want to add a new sheet, then name your sheet under the "Design New Sheet" option.
Next, click "Create", and it will take you to Form Page design mode.
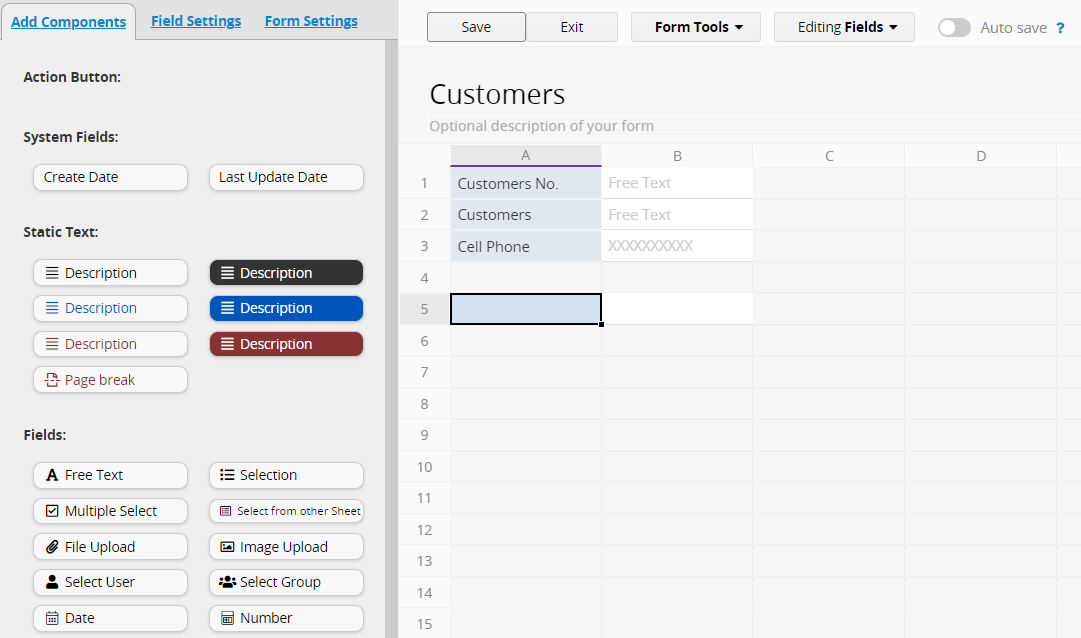
In the Form Page design mode, start by typing in the field names that you would like to create. Each independent field takes up two columns: the left column is for the "field name" ("field header"), and the right column is for the "field value". When adding new fields, place them in empty spaces and arrange them vertically.
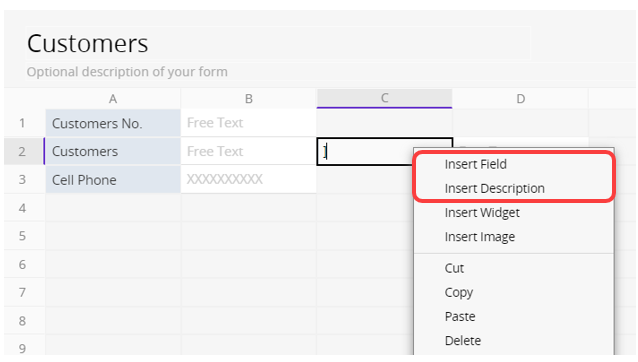
You can also right-click on an empty column to add a new field or Description Field.
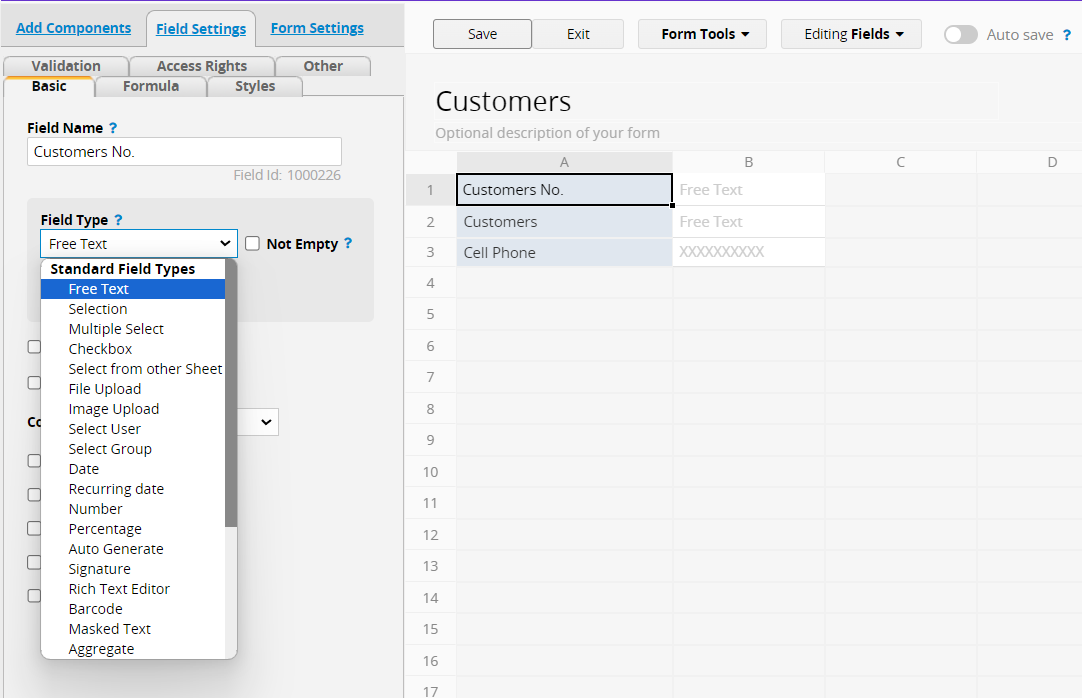
You can select the Field Types for different purposes. For example, if the field value is a category, you can choose Selection or Multiple Select. There are various Field Types available, including Date, Number, Money, etc. For all supported Field Types, please refer to this section.
You can also quickly create independent fields and Description Fields by Copying (right-click and select "Copy", or Ctrl+C). It duplicates not only the field name but also all the "field attributes", including the Field Type, Formula, Style, etc.
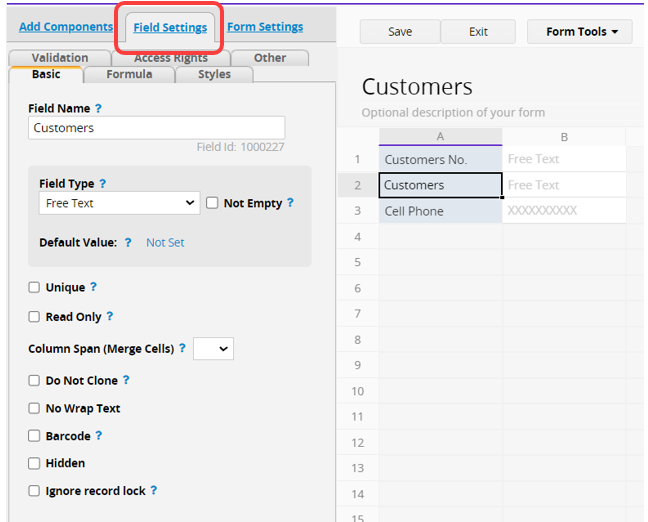
After creating fields, you can adjust them by clicking on the field header and modifying in the field settings on the left sidebar.
When you want to delete a field, click on the field header, then press the Spacebar, Delete key, or Backspace key.
Note: If the field is referenced by other sheets, deletion will be prohibited. Please refer to "the reasons for not being able to delete specific sheets or fields" for more information.
You can adjust the height and width of rows or columns by dragging the borders, just similar to Excel.
After completing the design, click "Save" and then exit the design mode to start using your sheet!
Click the arrow at the top left of the Form Page to return to the Listing Page, where you will see the created fields.
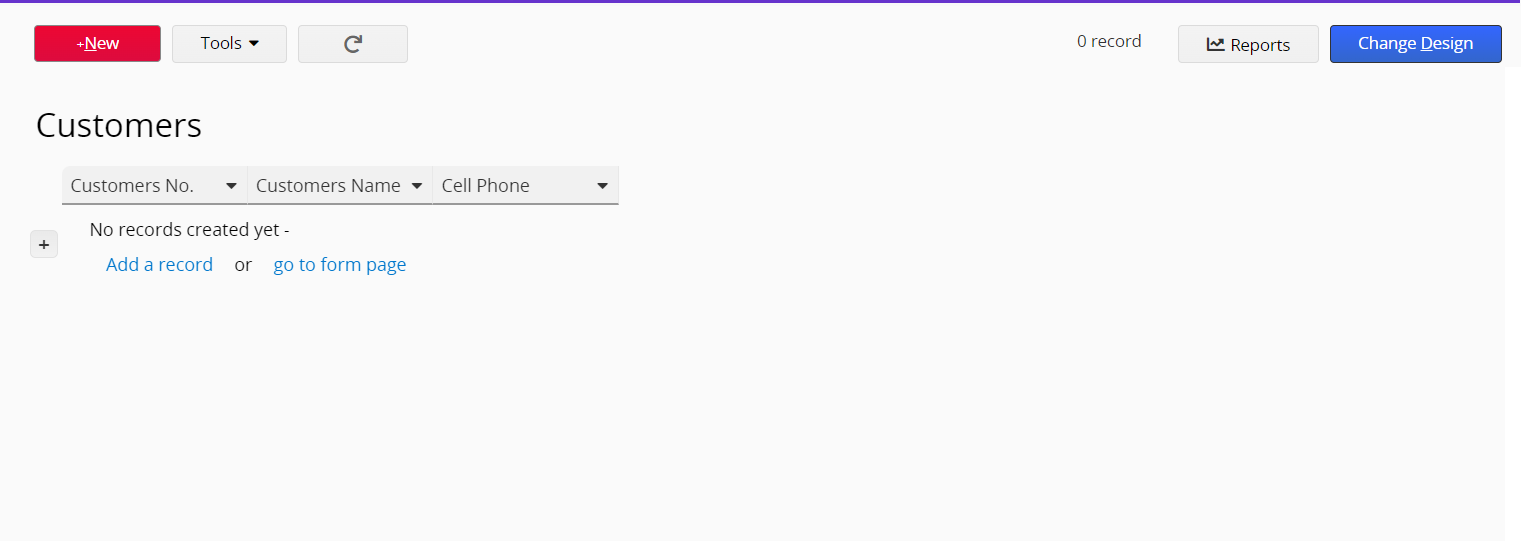
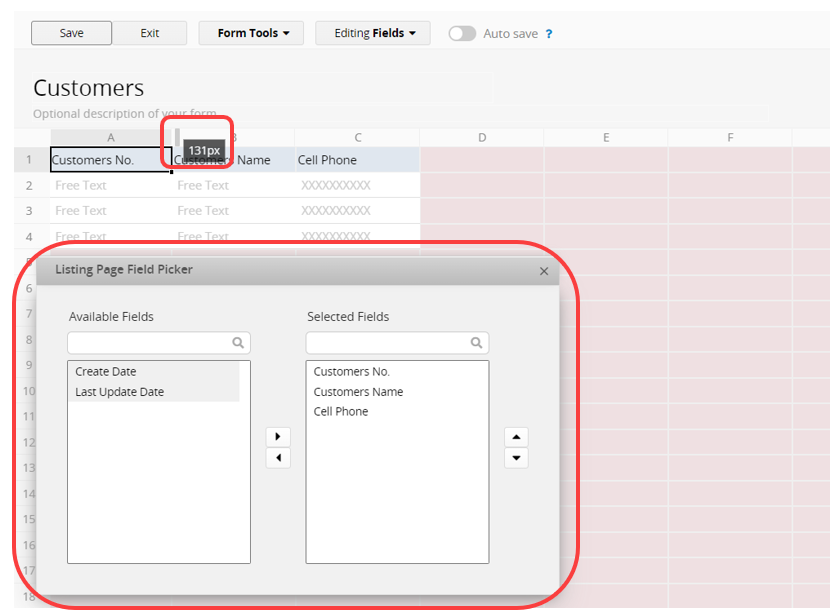
Click on "Change Design" to access the Listing Page design mode. Just as on the Form Page, you can drag the borders to adjust the height and width of the fields.
You can use the Listing Page Field Picker to rearrange the displayed fields. For more details on Listing Page settings, please refer here.
Remember to save design before exiting.
For a clearer demonstration, you can refer to the following tutorial video.
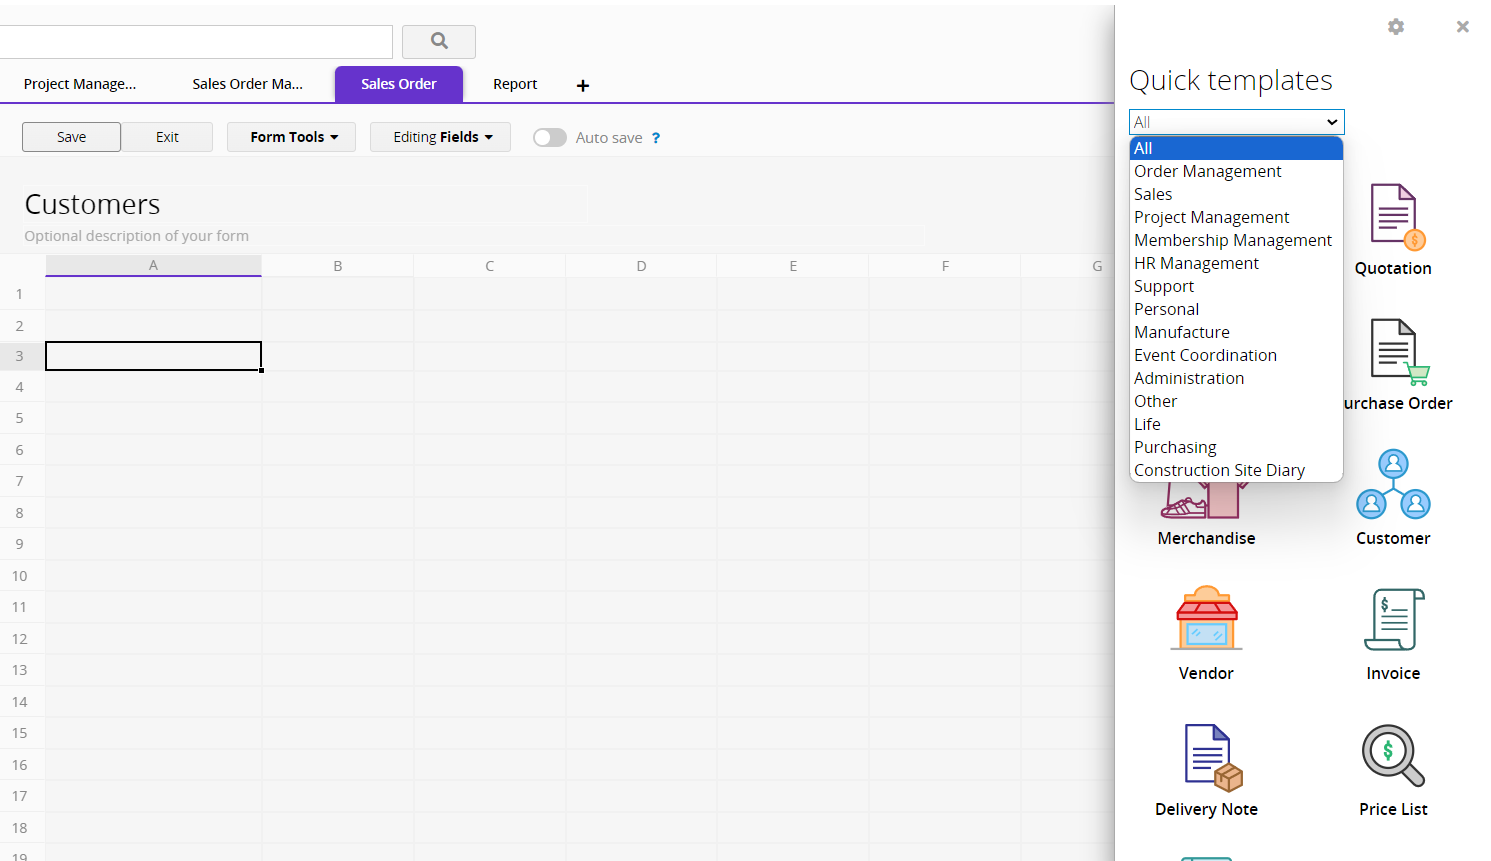
When you create a new sheet based on the above steps, you will see the Quick Templates on the right side.
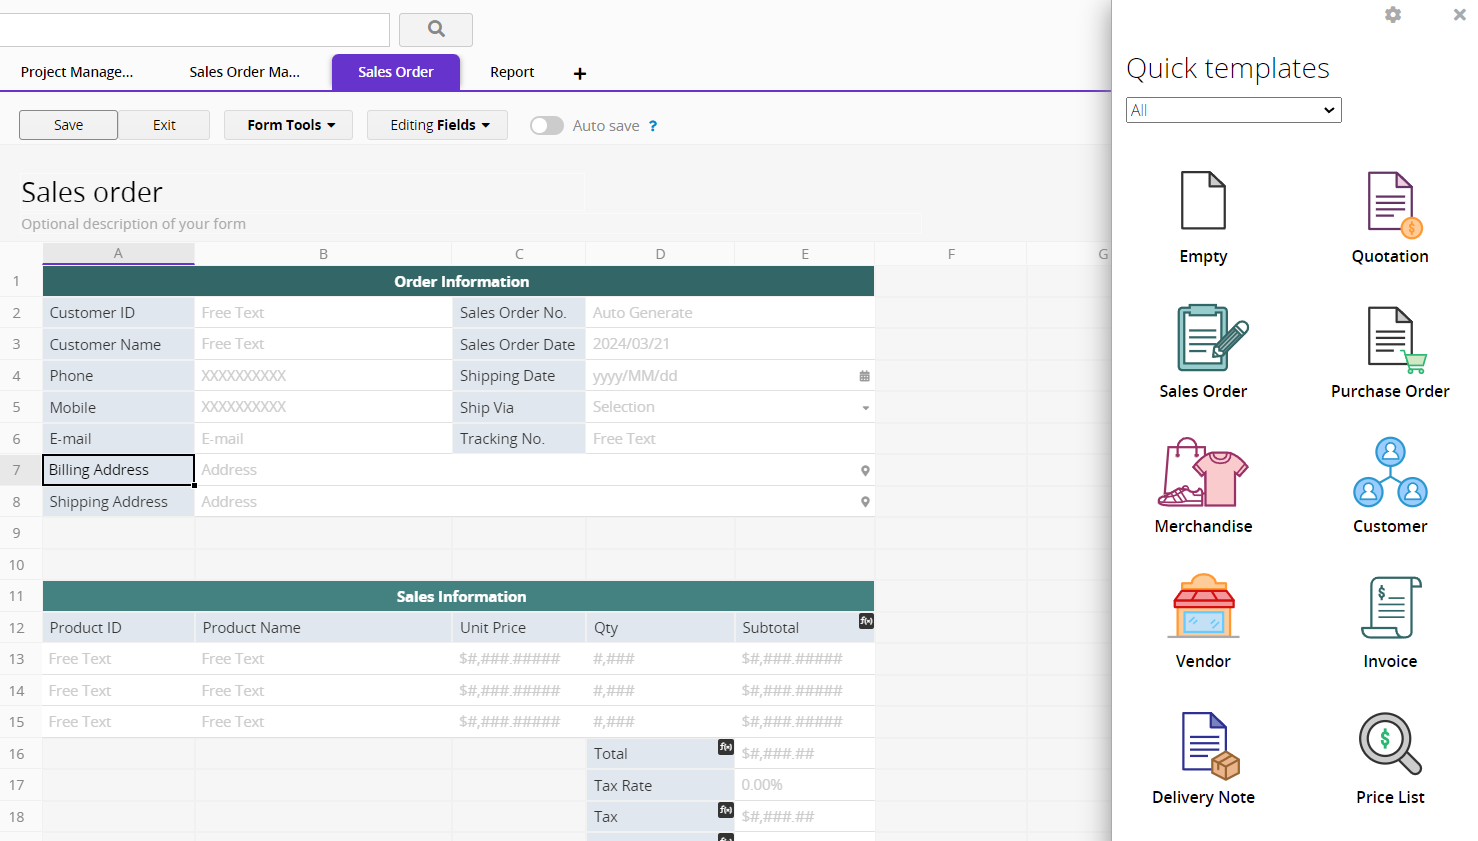
You can click on each template to preview the design.
There is a "Categories" menu to help you quickly find suitable templates.
After applying the template, you can still adjust the design according to your needs, such as adding, deleting, or moving fields.
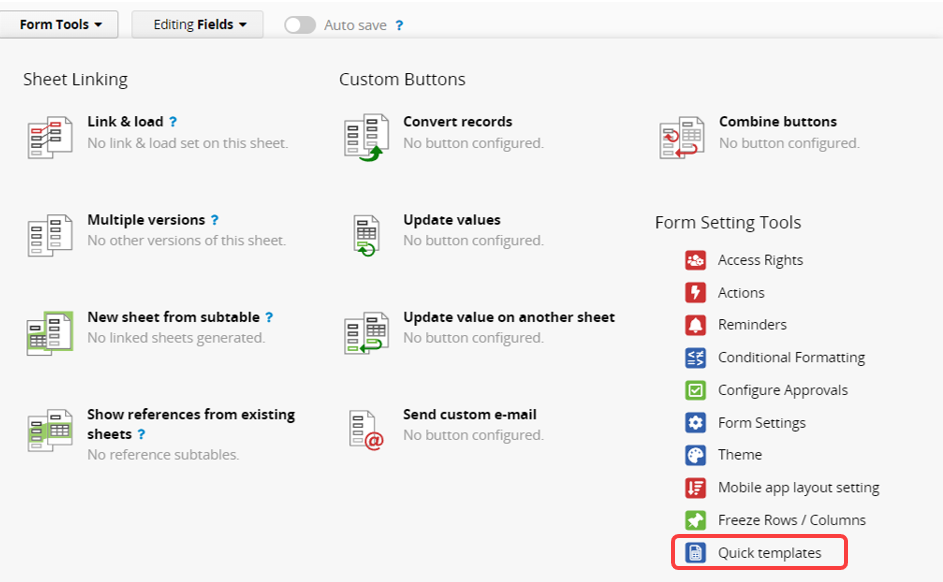
You can also access the Quick Templates from the Form Tools.
When creating a new sheet, you can select the Install Template. After clicking "Create", you can install several pre-designed templates, such as Customer Relationship Management, Sales Order Management, Purchasing, Inventory, etc.
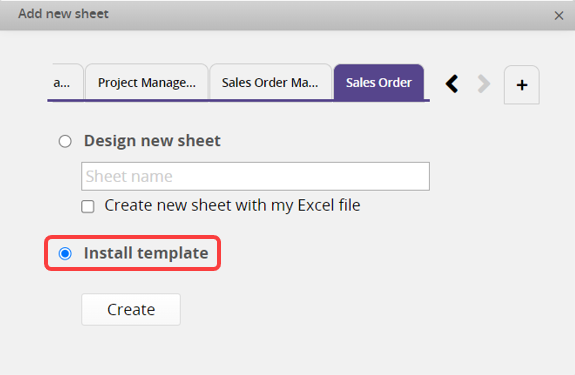
Choose the category from the left sidebar, and clicking on a template will display its description. Select the one you need and click "Install" (if the template has already been installed, it will display "Update").
For instructions on using the templates, please refer to this page.

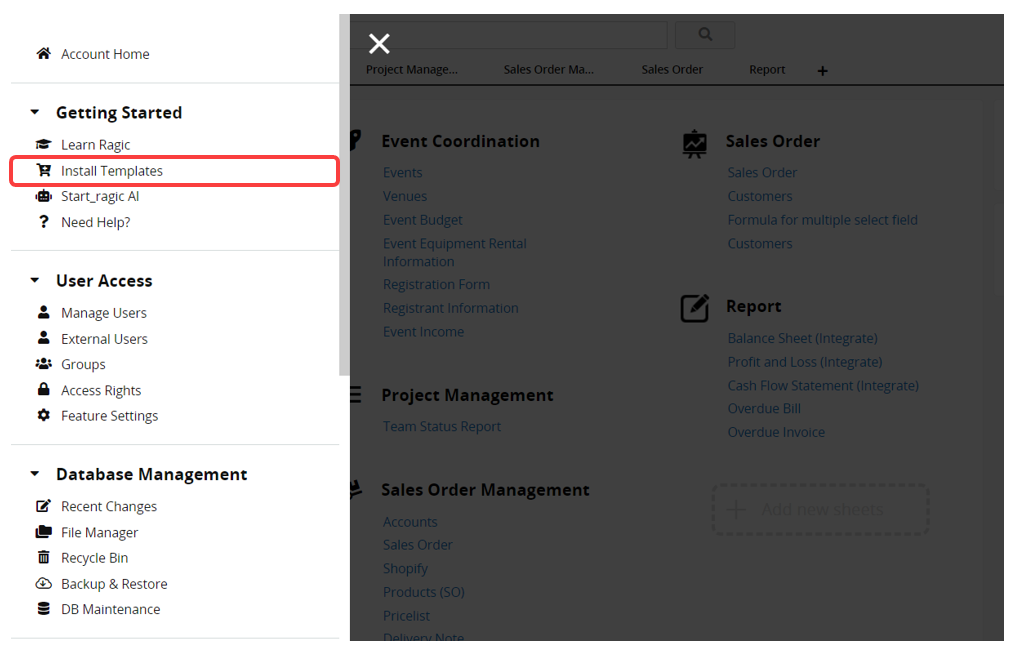
There are two other ways to access Install Templates:
1. From the hamburger menu in the top left corner.
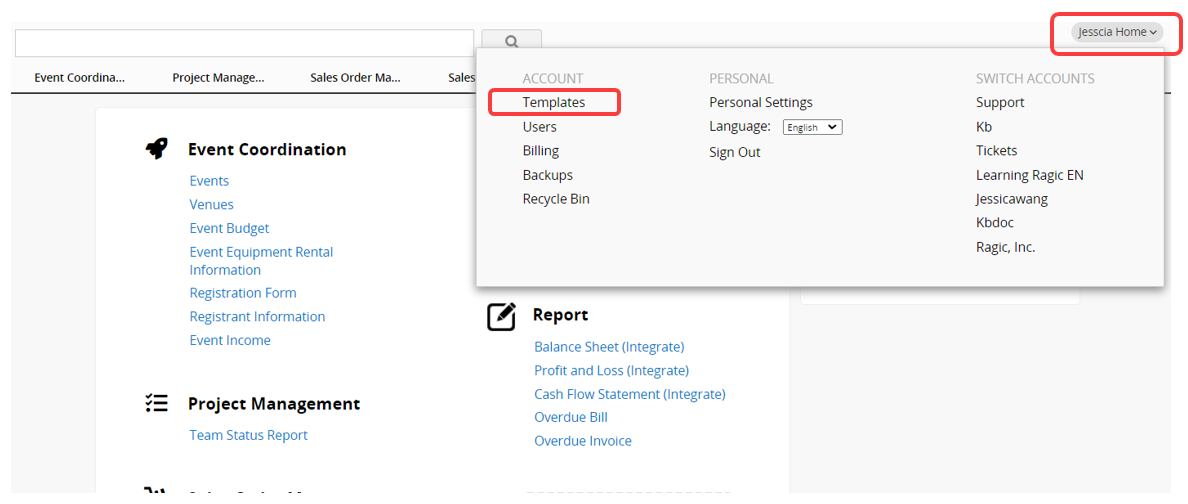
2. From the personal homepage in the top right corner.
For instructions on modifying template designs, please refer to this article.
Please refer to this section for detailed instructions.
You can use Ragic AI to design a database or sheet according to your requirements. For more details, refer to this section.
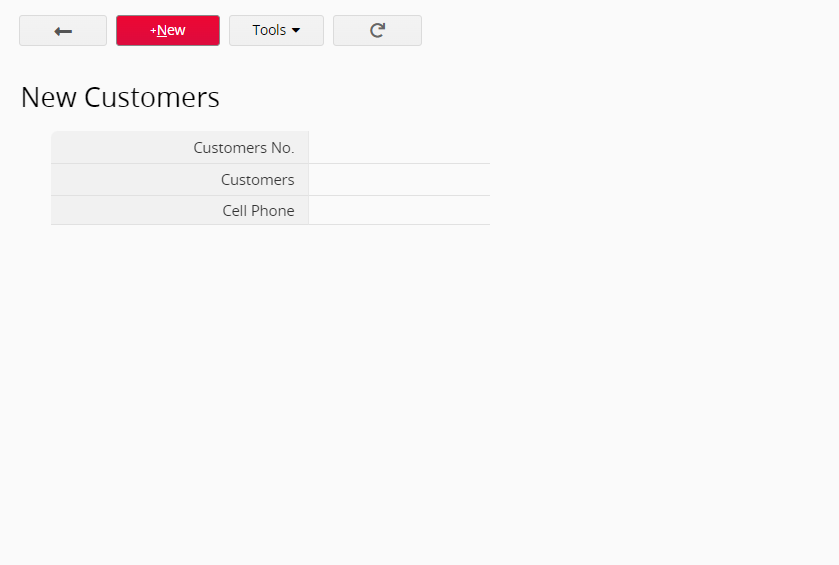
After completing the sheet design, the next step is to add new entries.
If you already have data in a spreadsheet, you can also import your data into the sheet.
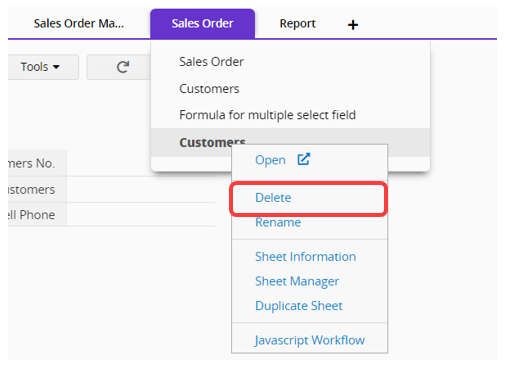
To delete a sheet or tab, hover your cursor over the sheet or tab you want to delete then right-click. Select "Delete" from the menu.
Note: If the sheet contains referenced fields from other sheets, deletion will be prohibited. Please refer to "the reasons for not being able to delete specific sheets or fields" for more information.
If you accidentally delete a sheet or tab and want to recover it, please check the Recycle Bin.
 Thank you for your valuable feedback!
