By default, image fields in downloaded Custom Print Report templates are output using field parameters, so no additional template adjustments are usually required.
However, if you have any of the following requirements, we recommend using the method below to adjust the image field template:
1. The output image size is not as expected.
2. You need to output image fields in Excel or PowerPoint format templates.
1. Open your custom template. At the location where you want to insert an Image Upload field, upload any image from your computer.
2. Right-click on the image you just inserted and select "View Alt Text".
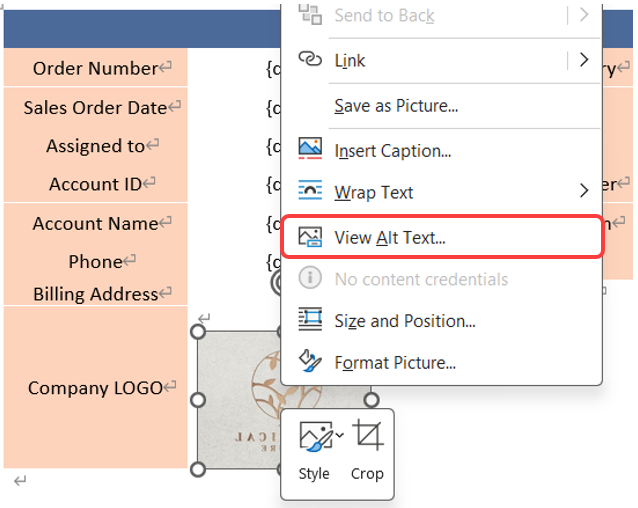
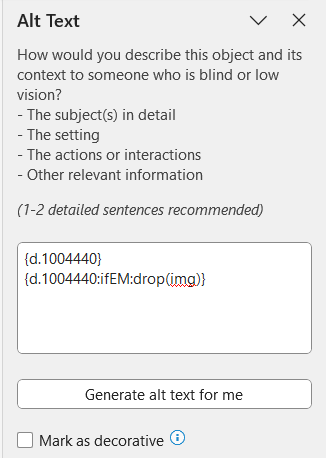
3. In the "Alt Text" description field, enter the field syntax(refer to the Field Value Syntax Reference) for the Image Upload field from the sheet in the format {d.field id}.
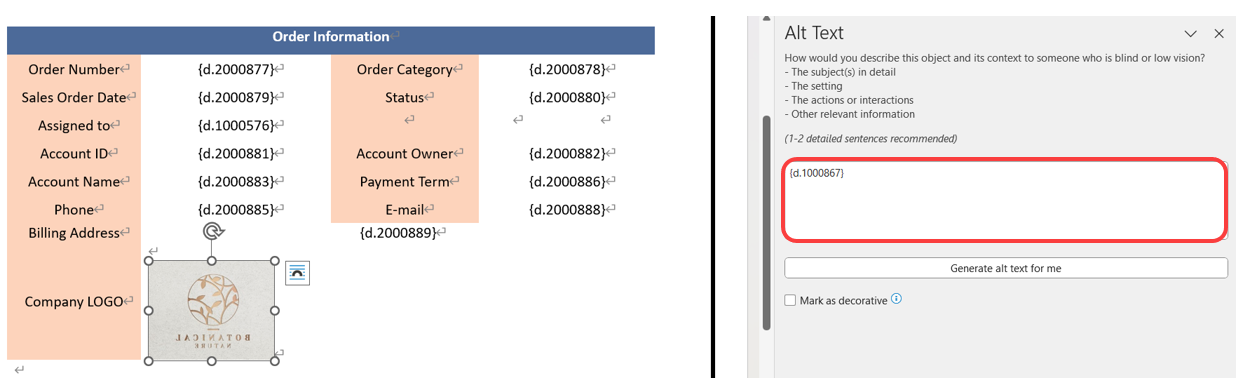
4. After completing the setup, you can directly adjust the size and position of the inserted image to control the output size and layout.
Note: This method only applies to single image fields. Multi-images upload fields are not supported.
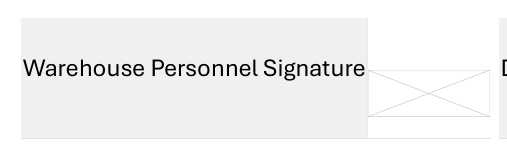
After adjusting the template using this method, if the image field is empty and the downloaded file displays the field as shown in the image below, please edit the image field's "Alt Text" in the template by adding {field_parameter:ifEM:drop(img)}, then re upload the template.
If a Signature field or Barcode field does not display correctly, you can download the default template again. If re downloading the default template is inconvenient because you are using a customized template, you can also adjust the template using the method described above.
 Thank you for your valuable feedback!
